NDT
4 Reasons Why CT is the Best Method for Medical Device Quality Inspection
CT is a huge benefit to the medical device industry and will only continue to grow.

Figure 1: CT scan of an epipen
The medical industry is one of the fastest growing industries in the world today, with the U.S reaching a market cap of $156 billion. The medical device sector is critical: Many patients rely on these potentially life-saving/sustaining machines to go about their daily lives, and a defective device can cause serious injury or even death. Ensuring the quality and integrity of these devices is of the utmost importance; each device must be built to meet those standards and requires the best quality inspection techniques. Computed tomography (CT) is one of these techniques. Computed tomography, a nondestructive technique that uses X-ray, provides reliable inspection that delivers confidence to the clinicians and patients. Here are four reasons why CT is the best form of inspection for your device.
1. See everything, inside and out
Advancements in the medical technology and material science in recent years has allowed for ever increasingly small (less invasive), more complex, and multifunctional medical devices to be made. Manufacturers must adhere to very tight tolerances, with some tubing that requires diameters as small as .005 inches with a ±.0005 tolerance. Devices such as microcatheters, ideal for therapeutic neuroradiology or occlusive therapies have interior diameters as small as .014 with wall thicknesses being .005 inches. Medical devices are increasingly growing smaller and smaller, which will need even more sophisticated levels of inspection like computed tomography.
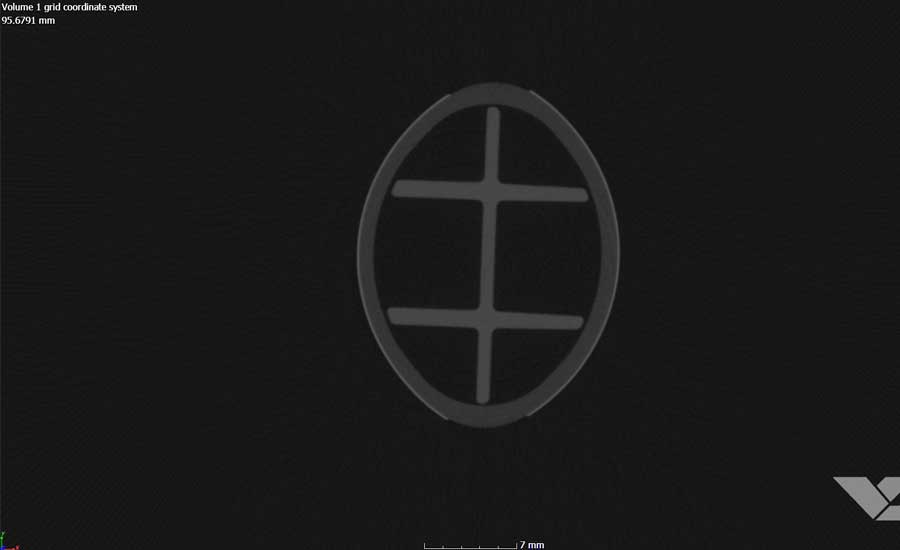
Figure 2: Top view slice of epipen
CT, more specifically micro focus CT, allows you to see all those tiny details. With micro focus CT, you can magnify your 3D reconstructed volume up to 77x, which allows you to examine your part to the smallest detail, as small as a red blood cell (5 microns). What allows you to see such detail is based upon a few different factors such as the density, thickness and material of your device as well as the energy of the X-ray source, which can range from 80 KeV to 225 KeV. (In industrial applications, it can go even further.) But what truly matters is the focal spot size. The focal spot, which is where the X-ray beams are released, determines how much resolution there is as well as how much one can magnify the device.
Being able to see the entire part inside and out as with micro focus CT and making sure there is no defect in the device helps save lives and improves medical care.
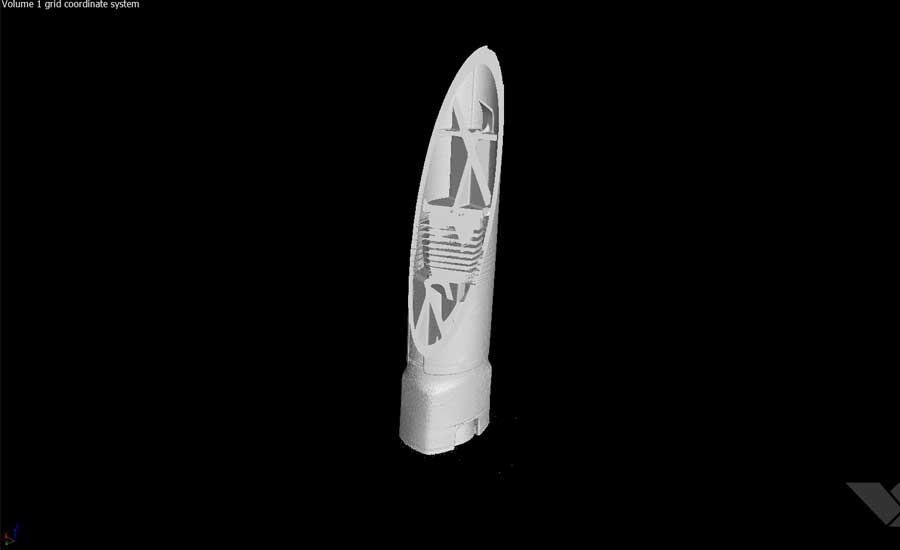
Figure 3: Orthogonal CT Projection of epipen
2. Enable Complete Metrology on Your Device
Not only can you obtain a 3D volume with micro focus CT, but you can also perform all kinds of analysis on the volume. Some examples of analysis include porosity analysis, defect analysis and even stress tests. By performing these tests on the 3D acquired volume, you can obtain valuable data as well as see what kinds of defects there are, whether it’s a void or a crack. A test like liquid penetration would easily fail to reveal these defects and that is why more and more medical device manufacturers are looking to CT for quality inspection.
A medical device made from very dense material can be scanned with CT very easily and allows you to perform very accurate dimensional analysis to measure every part specification, down to the smallest length. Complex objects with irregular shapes can be measured with ease. Not only can you easily measure around the device, but you can only perform internal measurements that you otherwise cannot measure.
A micromechanics stress or force test on the volume allows you to test a device without breaking it. This kind of metrology can even be performed on complex 3D printed geometrical parts made of metal laminates or even porous metals. This is extremely useful because you can place loads or stresses on different areas of the part that otherwise may be difficult to do with a load or stress fixture.
CT metrology is a huge benefit to the medical device industry and will only continue to grow. Ensuring that all tolerances and specifications are met provides confidence to the patient and doctor.
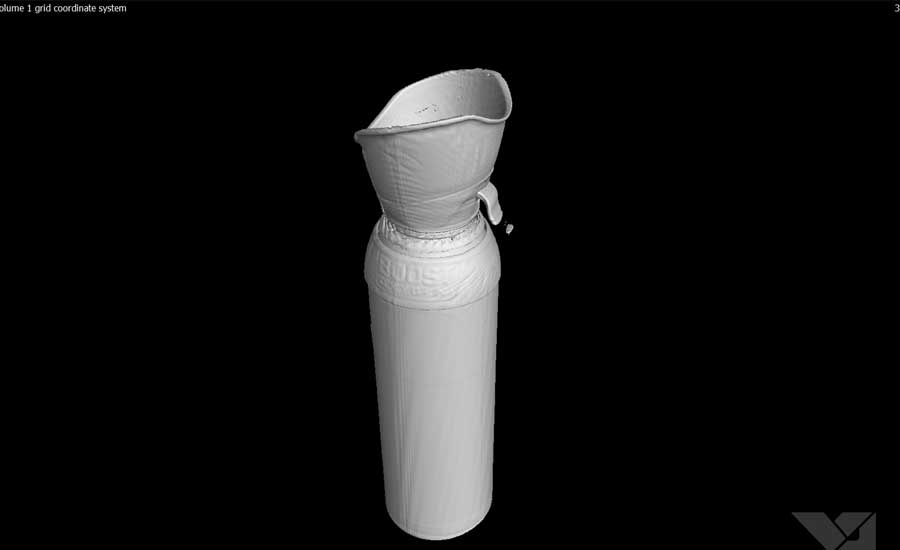
Figure 4: CT projection of oxygen boost can
3. Obtain High Fidelity Metrics with Efficiency
One powerful tool used in imaging programs is something called Automatic Defect Recognition or ADR. By applying an automatic defect recognition software, manufacturers can easily see where a defect is at each step of their product line, if any. ADR can help provide confidence to a decision or reveal a detail about a device that an operator otherwise may have missed.
With companies nowadays turning to Industry 4.0 and utilizing smart technology, one such technology that can be used with CT to further enhance the meaning of its data is machine learning. Machine learning along with defect recognition software can help manufacturers predict where future defects may happen during the manufacturing process. Over time, with the data the program has accumulated, machine learning can predict the remaining useful life (RUL) of the device. This is amazing for applications where patients require medical implants. Predicting when a patient should come in to get an implant replaced before it breaks down is a huge relief to the patient.
Together, machine learning and defect recognition software can also predict what kinds of defects will occur and perform different kinds of metrology on its own. In using more efficient methods of analysis, a higher level of confidence can be obtained.
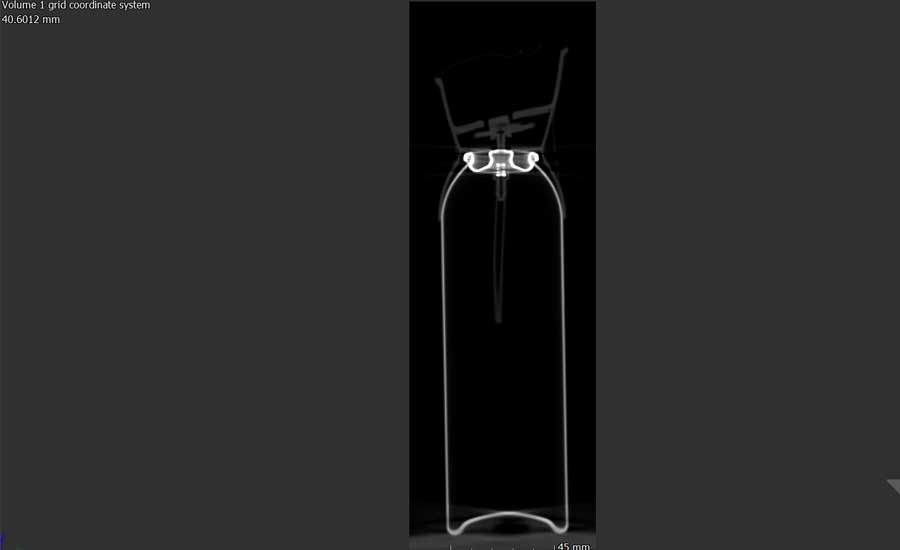
Figure 5: Right slice of oxygen boost can
4. Rapidly Growing Technique with Invaluable Benefits
The use for CT is continually growing and the benefits that it provides is what makes this industry so sought after. It is expected to reach $451 million by the year 2025, up from $290 million this year. More and more manufacturers are realizing how powerful CT can be, especially with smaller and less invasive devices being built every year. With CT helping improve supply chain management, and reducing unplanned downtime, manufacturers can look to invest in improving their devices. Ultimately, this will lead to an increase in patient safety and comfort. The future of CT inspection for medical devices is bright.
Looking for a reprint of this article?
From high-res PDFs to custom plaques, order your copy today!


